🚀 Mastering Web3: Your Complete Guide to Using Exodus Web3 Wallet v24.12.3
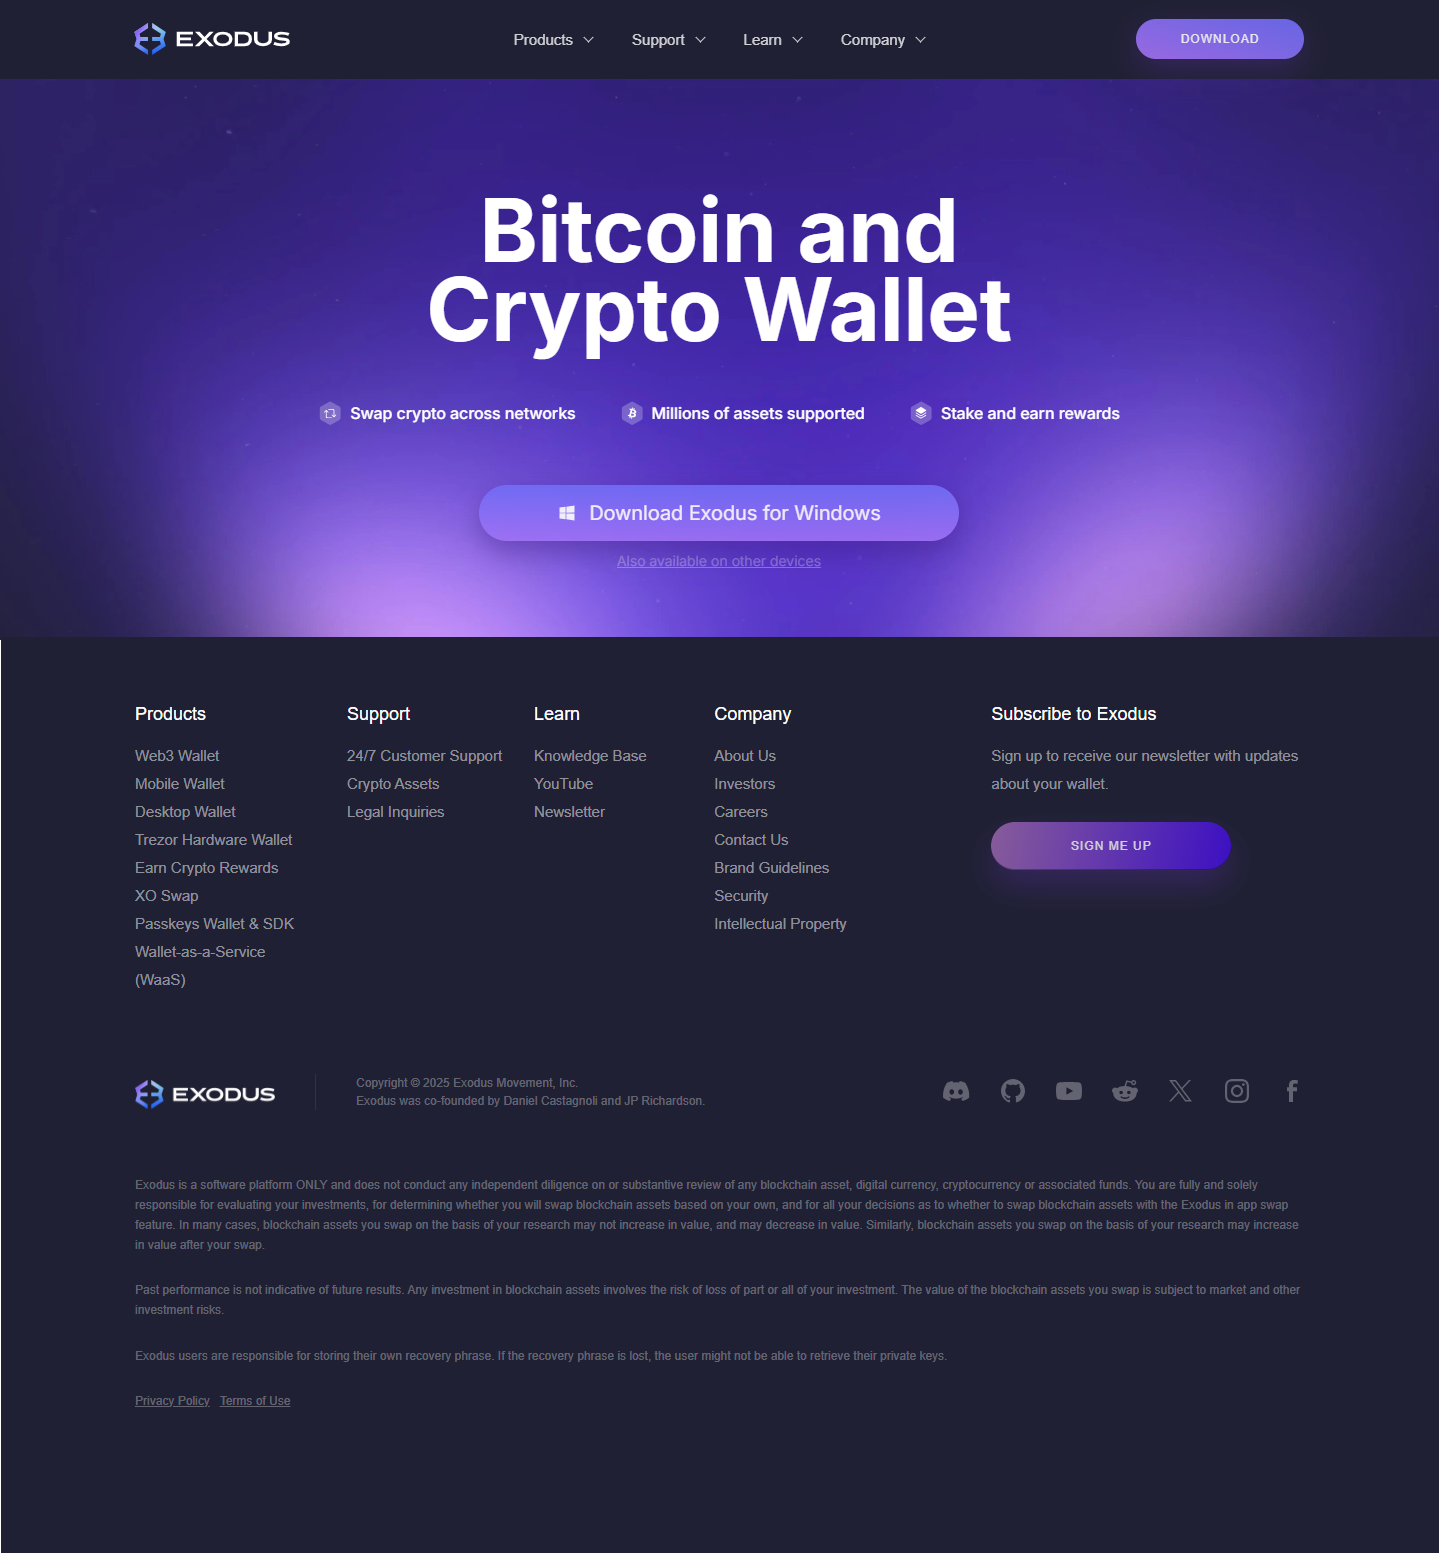
The world of decentralized finance (DeFi) and NFTs is booming, and to navigate it securely and smoothly, you need a powerful, user-friendly wallet. Enter Exodus Web3 Wallet v24.12.3, a multichain browser extension that combines top-tier security with a beautifully intuitive interface.
This comprehensive guide, built on the E-E-A-T (Experience, Expertise, Authoritativeness, Trustworthiness) framework, will walk you through every aspect of using this cutting-edge version, from setup to advanced DeFi interactions.
🔑 E-E-A-T: Experience & Setup
The first step in your Web3 journey is getting set up. With Exodus, the process is designed to be seamless, even for beginners.
1. Download and Installation
Experience: Always download the official extension to protect your assets from phishing scams.
- Navigate to the Chrome Web Store (or your preferred Chromium-based browser's extension store).
- Search for the official "Exodus Web3 Wallet."
- Click "Add to Chrome" (or similar) and confirm the installation. Pin the extension to your browser toolbar for quick access.
2. Create or Restore Your Wallet
- Create New Wallet: Select this if you're a first-time user. You'll be prompted to set a strong, unique password.
- Restore from Backup: If you're moving from another wallet (like MetaMask or Phantom) or a previous Exodus setup, use your 12-word Secret Recovery Phrase to restore access to your funds.
🔒 Crucial Security Step (Trustworthiness): Your 12-word Secret Recovery Phrase is the master key to your funds. Write it down immediately on paper and store it securely offline in multiple, separate locations. Never take a photo of it, store it in the cloud, or share it with anyone—Exodus support will never ask for it.
🌐 Expertise: Connecting to the Decentralized Web
The core function of the Web3 Wallet is to be your gateway to dApps (decentralized applications) across multiple networks, like Ethereum, Solana, and more.
1. Managing Your Portfolio
Once set up, you can:
- Receive Crypto: Click the asset you want to receive (e.g., ETH) and copy the wallet address or scan the QR code. Always double-check the network compatibility (e.g., sending an ERC-20 token to an Ethereum address).
- Send Crypto: Click Send, paste the recipient address, enter the amount, and review the network fees before confirming.
- In-Wallet Swap: Use the built-in Swap feature to instantly trade between thousands of supported crypto pairs without ever leaving the wallet.
2. Connecting to dApps
Version v24.12.3 makes connecting incredibly intuitive:
- Visit a dApp (like Uniswap, OpenSea, or a DeFi protocol) in your browser.
- Look for a "Connect Wallet" button, usually in the top right corner.
- Select Exodus from the list of wallet options (or choose WalletConnect if Exodus is not explicitly listed).
- A pop-up will appear from your Exodus extension. Review the connection details and click "Connect" to authorize the dApp to view your public wallet address.
🖼️ Authoritativeness: Exploring Key Features in v24.12.3
This version is packed with features that cement Exodus's status as an authoritative tool in the Web3 space.
1. Multi-Chain and Custom Token Support
The wallet supports an ever-growing list of blockchains, allowing you to manage assets across different ecosystems all in one place. You can also import and manage custom tokens that aren't yet natively listed.
2. NFT Gallery
The built-in NFT gallery lets you view, manage, and showcase your digital collectibles across supported networks without having to use a third-party application.
3. Staking and Yield
For supported assets like Solana or Cardano, you can often stake directly within the wallet to earn passive income rewards, simplifying the process of participating in network security.
4. Transaction Approval Management
When interacting with a dApp, Exodus will provide a clear pop-up to review the transaction details, including the action being performed (e.g., "Approve spending," "Swap," "Transfer") and the network fee (Gas). Always read and verify these details before clicking "Approve."
🛡️ Trustworthiness: Security Best Practices
As a non-custodial wallet, your security is entirely your responsibility. To maintain the highest level of trustworthiness:
- Enable a Strong Password: This encrypts your wallet on your local device.
- Regular Updates: Ensure your Exodus Web3 Wallet is always updated to the latest version (v24.12.3 or newer) to benefit from the latest security patches.
- Phishing Alert: Be vigilant. Never click on suspicious links, and always verify the URL of the dApp you are connecting to.
- Hardware Wallet Integration: For maximum security, particularly with large holdings, consider pairing your Exodus Desktop wallet with a Ledger or Trezor hardware device.
For more detailed information on security and support, visit the official Exodus Support Center.
🏁 Conclusion
The Exodus Web3 Wallet v24.12.3 is an exceptionally powerful, secure, and user-friendly tool that dramatically lowers the barrier to entry for the Web3 world. By following these E-E-A-T principles—setting up correctly, understanding dApp connections, leveraging its features, and prioritizing security—you are well-equipped to master your decentralized portfolio.
Would you like me to find a specific dApp tutorial (like how to swap on a DEX) that you can connect to with your Exodus Web3 Wallet?